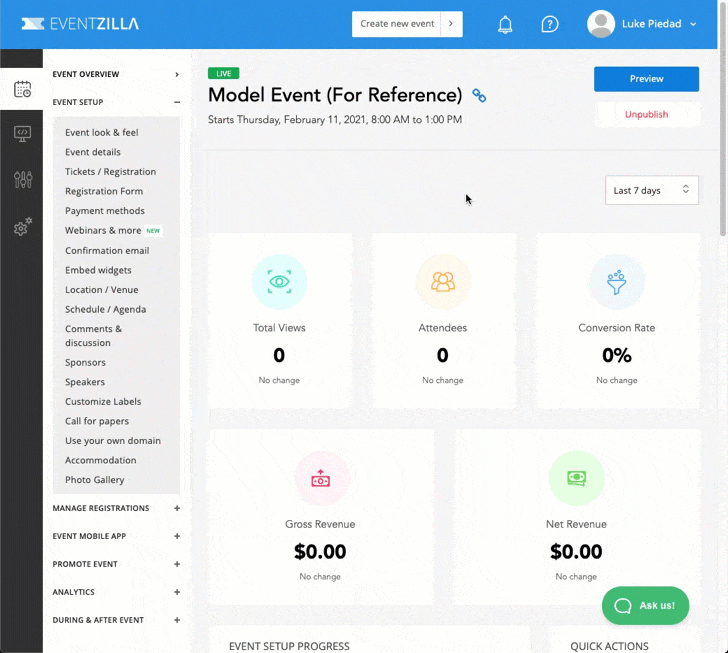
Once you have completed cloning your event from the template, customizing, setting up ticket types, and learning about payment methods, you are ready to publish your event. In order to do this, click on the top right hand button that reads Publish. Once that happens, the Unpublished text on the top left will change to Live.
After your event is live you can still edit various things about your event, such as the event information, ticket types, change the amount of tickets, and more. This is done by editing the event as normal and saving changes while the event is still live.
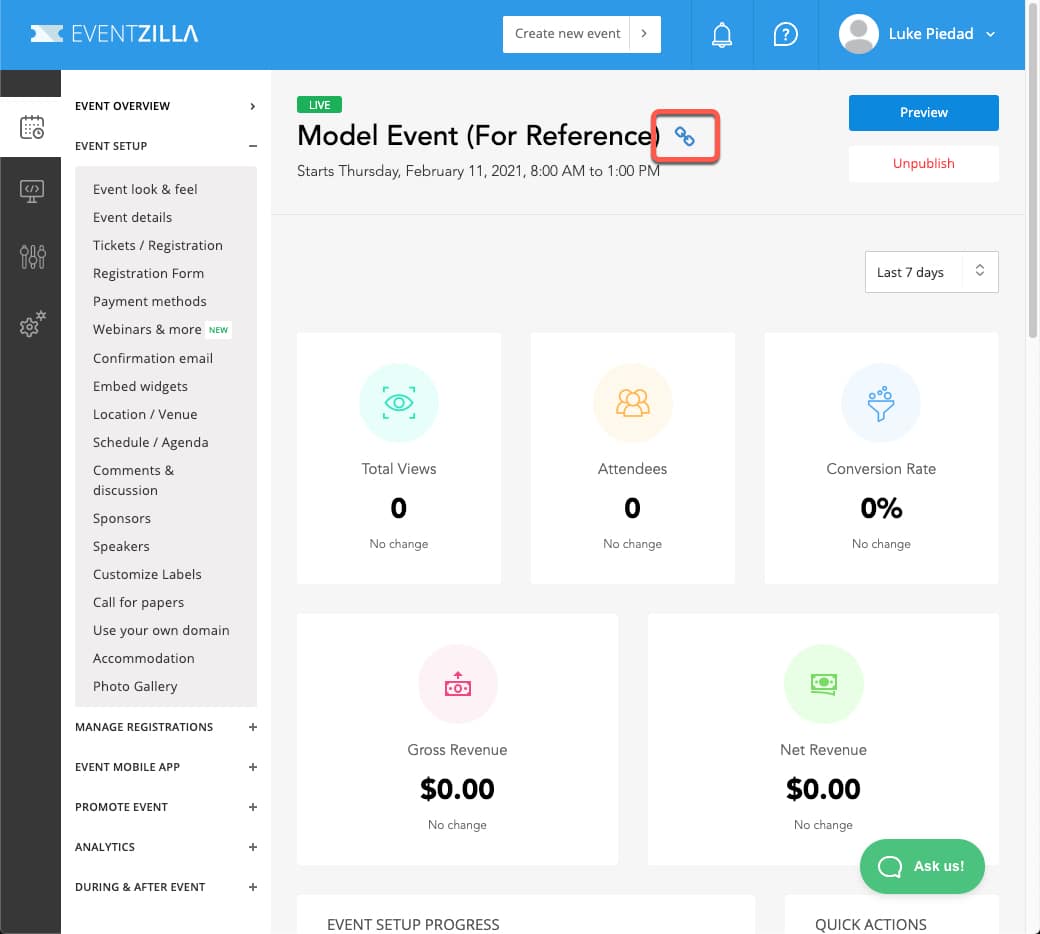
Once your event is live, your event landing page can be viewed by the public if they have your link. The event link for can be found by clicking on the chain link icon next to the event name.
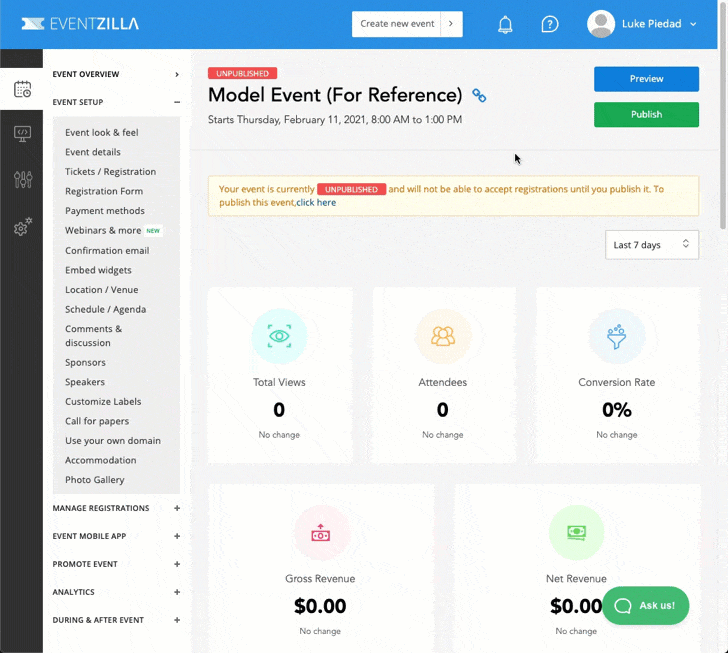
You are always free to unpublish events and remove them from public view in the event they need major updates or you need to cancel an event. To do so, simply click on the Unpublish button at the top right of the screen.
This will revert your event back into its draft form and remove it from public view. Keep in mind that you do not need to unpublish an event for minor changes such as changing the description or adding ticket types.