When you create your event by cloning the template, it will retain all of the template information such as name, description, etc. This first section, “Event look & feel” will cover all options for how to customize the look and feel of your event registration page. Please go through all sections and rewrite based on the specifics of your event.
IMPORTANT: Whenever you make changes you want to preserve on any page, make sure that you hit save on the bottom. Eventzilla will not warn you about unsaved changes and you will lose all data.
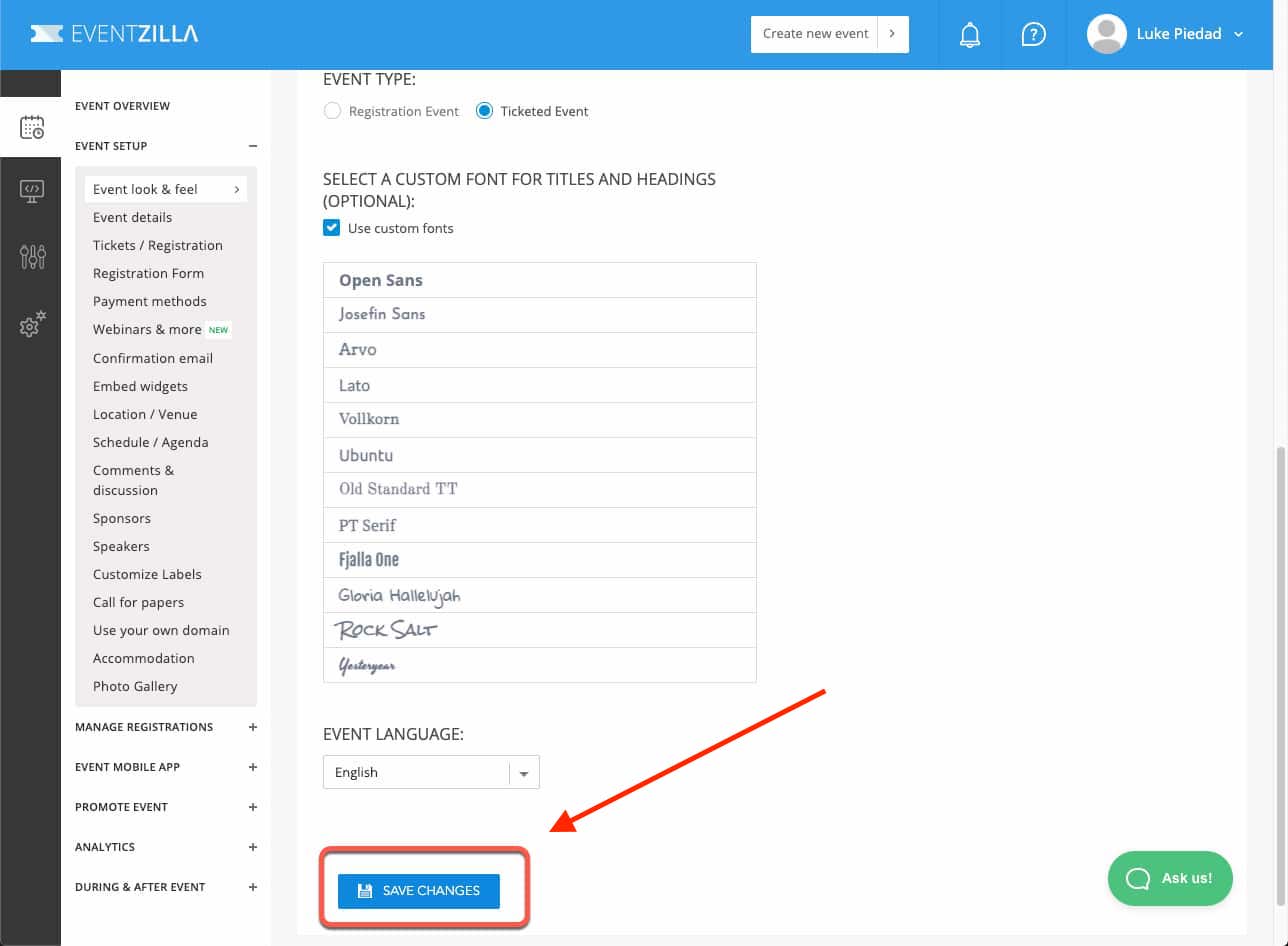
This section is where you are able to upload the event’s cover image and change out the Eventzilla logo for the GSE logo. Font styling is also available and the header of the event page can be changed as well.
This is also where you’ll be able to modify the order in which your information populates on your event landing page.
As you are completing the “Event look & feel” sections feel free preview what your landing page looks like to your event participants, click on the “Preview” button.
It’s common practice to have two tabs open while you’re editing the event information, one tab with “Event look and feel” open and the second tab with your preview open.
Make your way through the rest of the event options. Within the “Event look & feel” area you will be able to change the event title, event description, organizer description, and more.
The event date can also be customized within this tab.
Under Event Setup > Confirmation Email is where you’ll customize the email that your attendees will receive after they register for your event. Make sure that you change the “Reply to address” to the event organizers email. During this step there is a live preview on the right hand of your screen so that you can see the email that your participants will receive.
As always make sure that you click on the “Save changes” button at the bottom of the screen after you modify your event.
In the field labeled “Add custom message block” leave it checked and ONLY modify your name and event name within the text copy in this field. Located at point 1B. This is important information for participants who wish to pay by invoice.
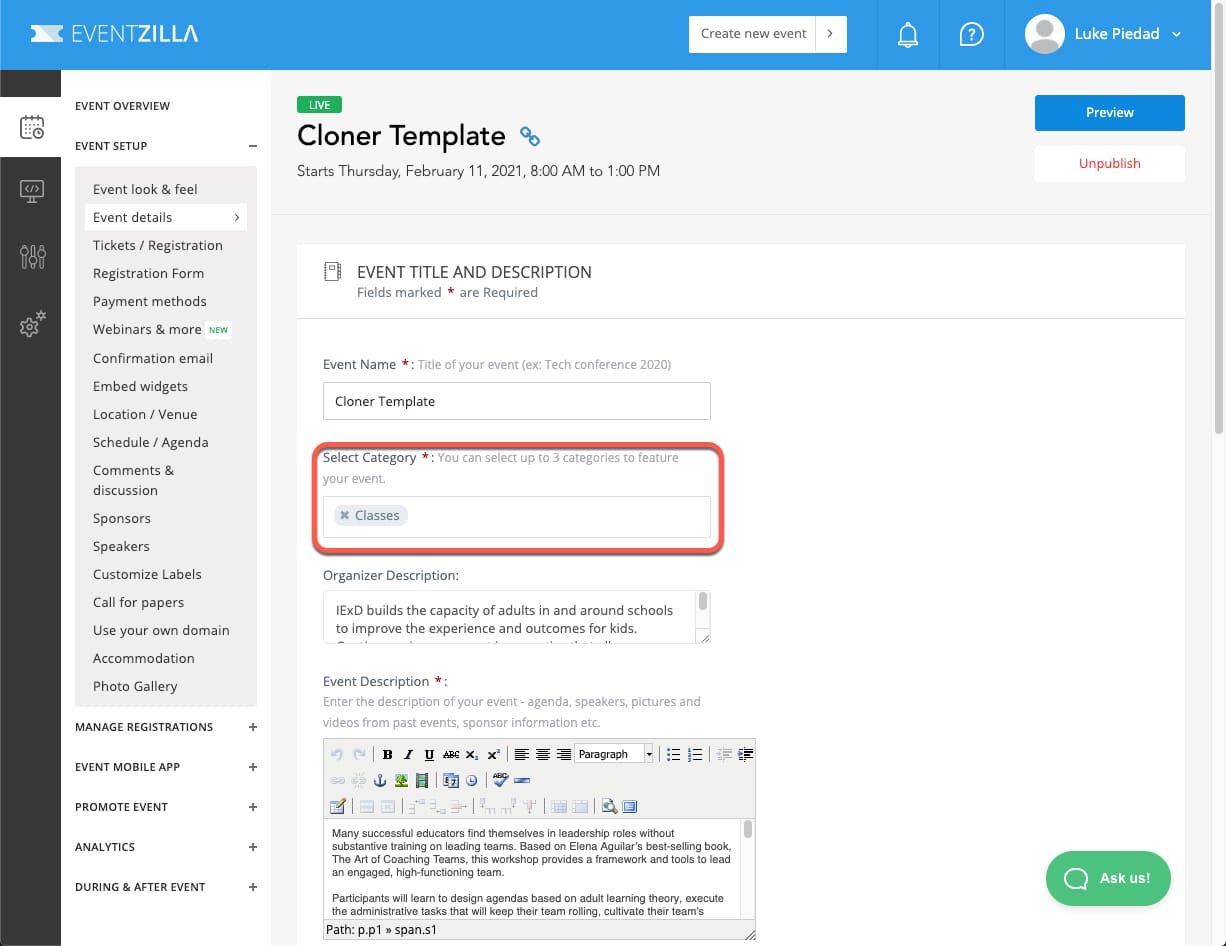
Categorizing your event will help your potential participants find your event through search terms.
Under Event Setup>Event Details is where you’ll “categorize” your event. You can choose up to three categories, but you have to choose at least one. This will help your event with search functionality.
You have the option to link Zoom meetings for use within your event. In order to create the meeting link, you’ll need to do it through your HTH Calendar.
Open your calendar and create a calendar event that takes place at the same time as your Eventzilla event. Add in a Zoom link to your event. This is the link you will use, and creating it this way ensures the Zoom link will stay static and active even if you change the event date/times on your calendar.
It will go away if you delete the Calendar event.

Keep in mind that as you navigate this section, you may see prompts to “upgrade your Account” or “Start my free trial now.” You can ignore those – more info on that in Step 4 of the Gaining Access to Eventzilla tutorial.
Head into Event Setup > Webinars & more and click Meeting/Webinar + Connect.
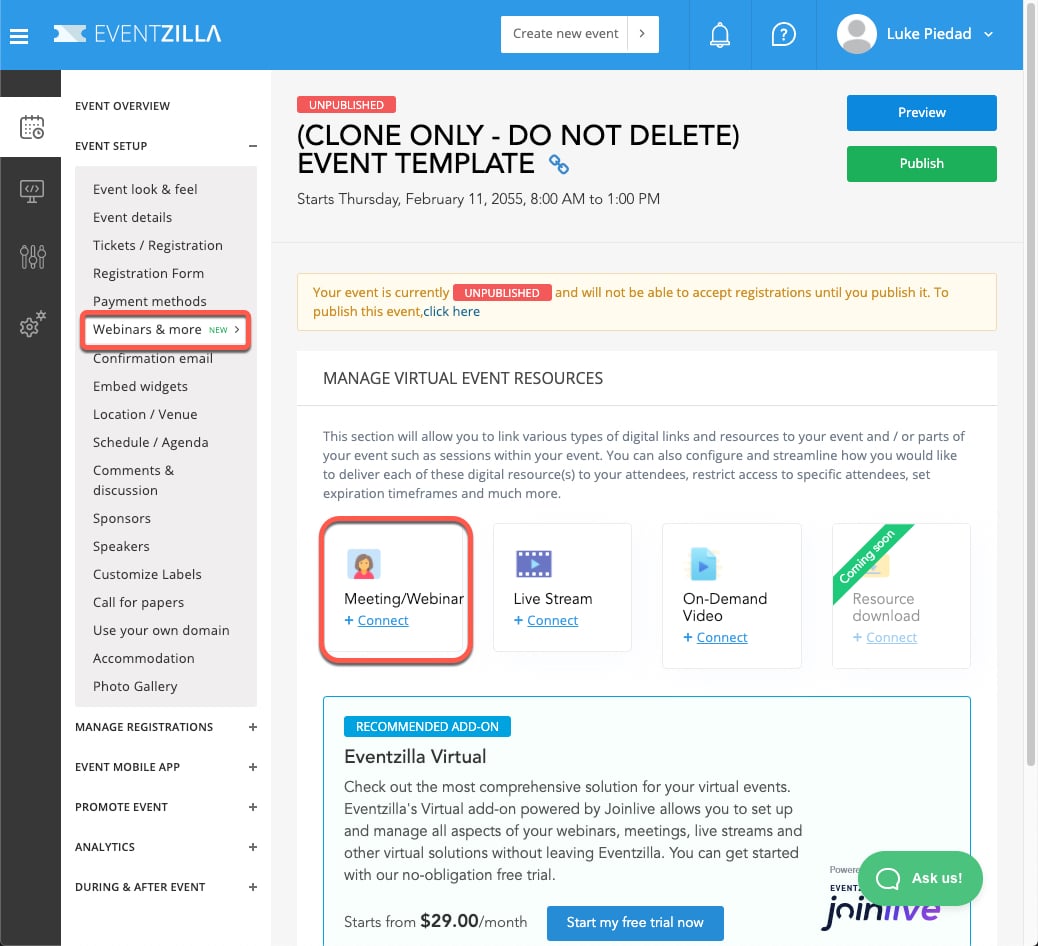
In the Setup your Meeting/Webinar popup click on the Use your own webinar provider tab. Select Meeting and then Other Provider. Do this even if your event is hosted through Zoom.
Paste your meeting url into the Webinar / Meeting URL field, update all required information, and hit Save Settings. Your event will now have the Zoom link displayed for all event participants.
To create a session within your event go to “Event Setup”>”Schedule/Agenda”, and click the “Add a new session” button. For a more in depth tutorial view additional tutorials.
A window will pop-up and prompt you to fill out the information about your session, in the session description place the link to your zoom meeting within.
In this method you’ll be mass emailing all participants who are registered for your event. We recommend that you send this email at least one day before the scheduled meeting.
To accomplish this, go to “Manage Registrations”>”Email Attendees” and you can craft your email here. Be sure to include the zoom link and password (if there is one) in the body of the email. At the very bottom of the page you can choose when to send out the email, make sure that you choose an option in that drop down menu.